Shortbread
For when you feel like baking, but maybe don't want to do anything too involved, these shortbread cookies make for the perfect treat. Minimal ingredients, minimal effort, maximum delicious-ness.

INGREDIENTS
Makes 24
170g butter, softened at room temperature
1tsp vanilla extract
100g icing sugar
225g plain flour
1/2tsp salt
100g dark chocolate, for dipping (optional)

METHOD
1
Preheat your oven to 170°C.
Line an 8x8 inch square tin (or 9x9 inch round tin) with baking parchment. I like to have the sides of the paper overhanging so its easier to take out the shortbread at the end.
2
Cream together the butter and vanilla in a large-ish bowl for a couple of minutes until smooth, pale and creamy.
Add in the icing sugar (you may want to do this in two stages to avoid a cloud of sugar going everywhere!) and beat until creamy.
Add the flour and salt and mix until you have a homogenous mixture.
3
Press into your prepared tin. It may help to press it in with clean hands or the back of a spoon.
With a knife, gently score out the biscuit shapes to whatever size you like (do not go all the way to the bottom of the shortbread).
I like to do 8x3 (in half, half again, and then half again to give 8 strips lengthwise, then in thirds widthwise, to give 24 cookies). If you are using a round pan, I find splitting this into 8 fat wedges is the best way to go!
Prick all over with a fork (I like to do three fork marks per biscuit) - this prevents the cookies from puffing up too much, and makes for a nice pattern.
Bake for 20 minutes. Remove from the oven, and go over your score marks one last time (and fork marks if you like).
Leave to cool completely until you remove from the pan and cut it into pieces (keep your parchment paper for the next step!).
4
Your cookies are now ready to eat, however, should you want to dip them in melted chocolate, break it up into pieces and microwave for 20 seconds on high at a time. Stir well between each blast until completely melted.
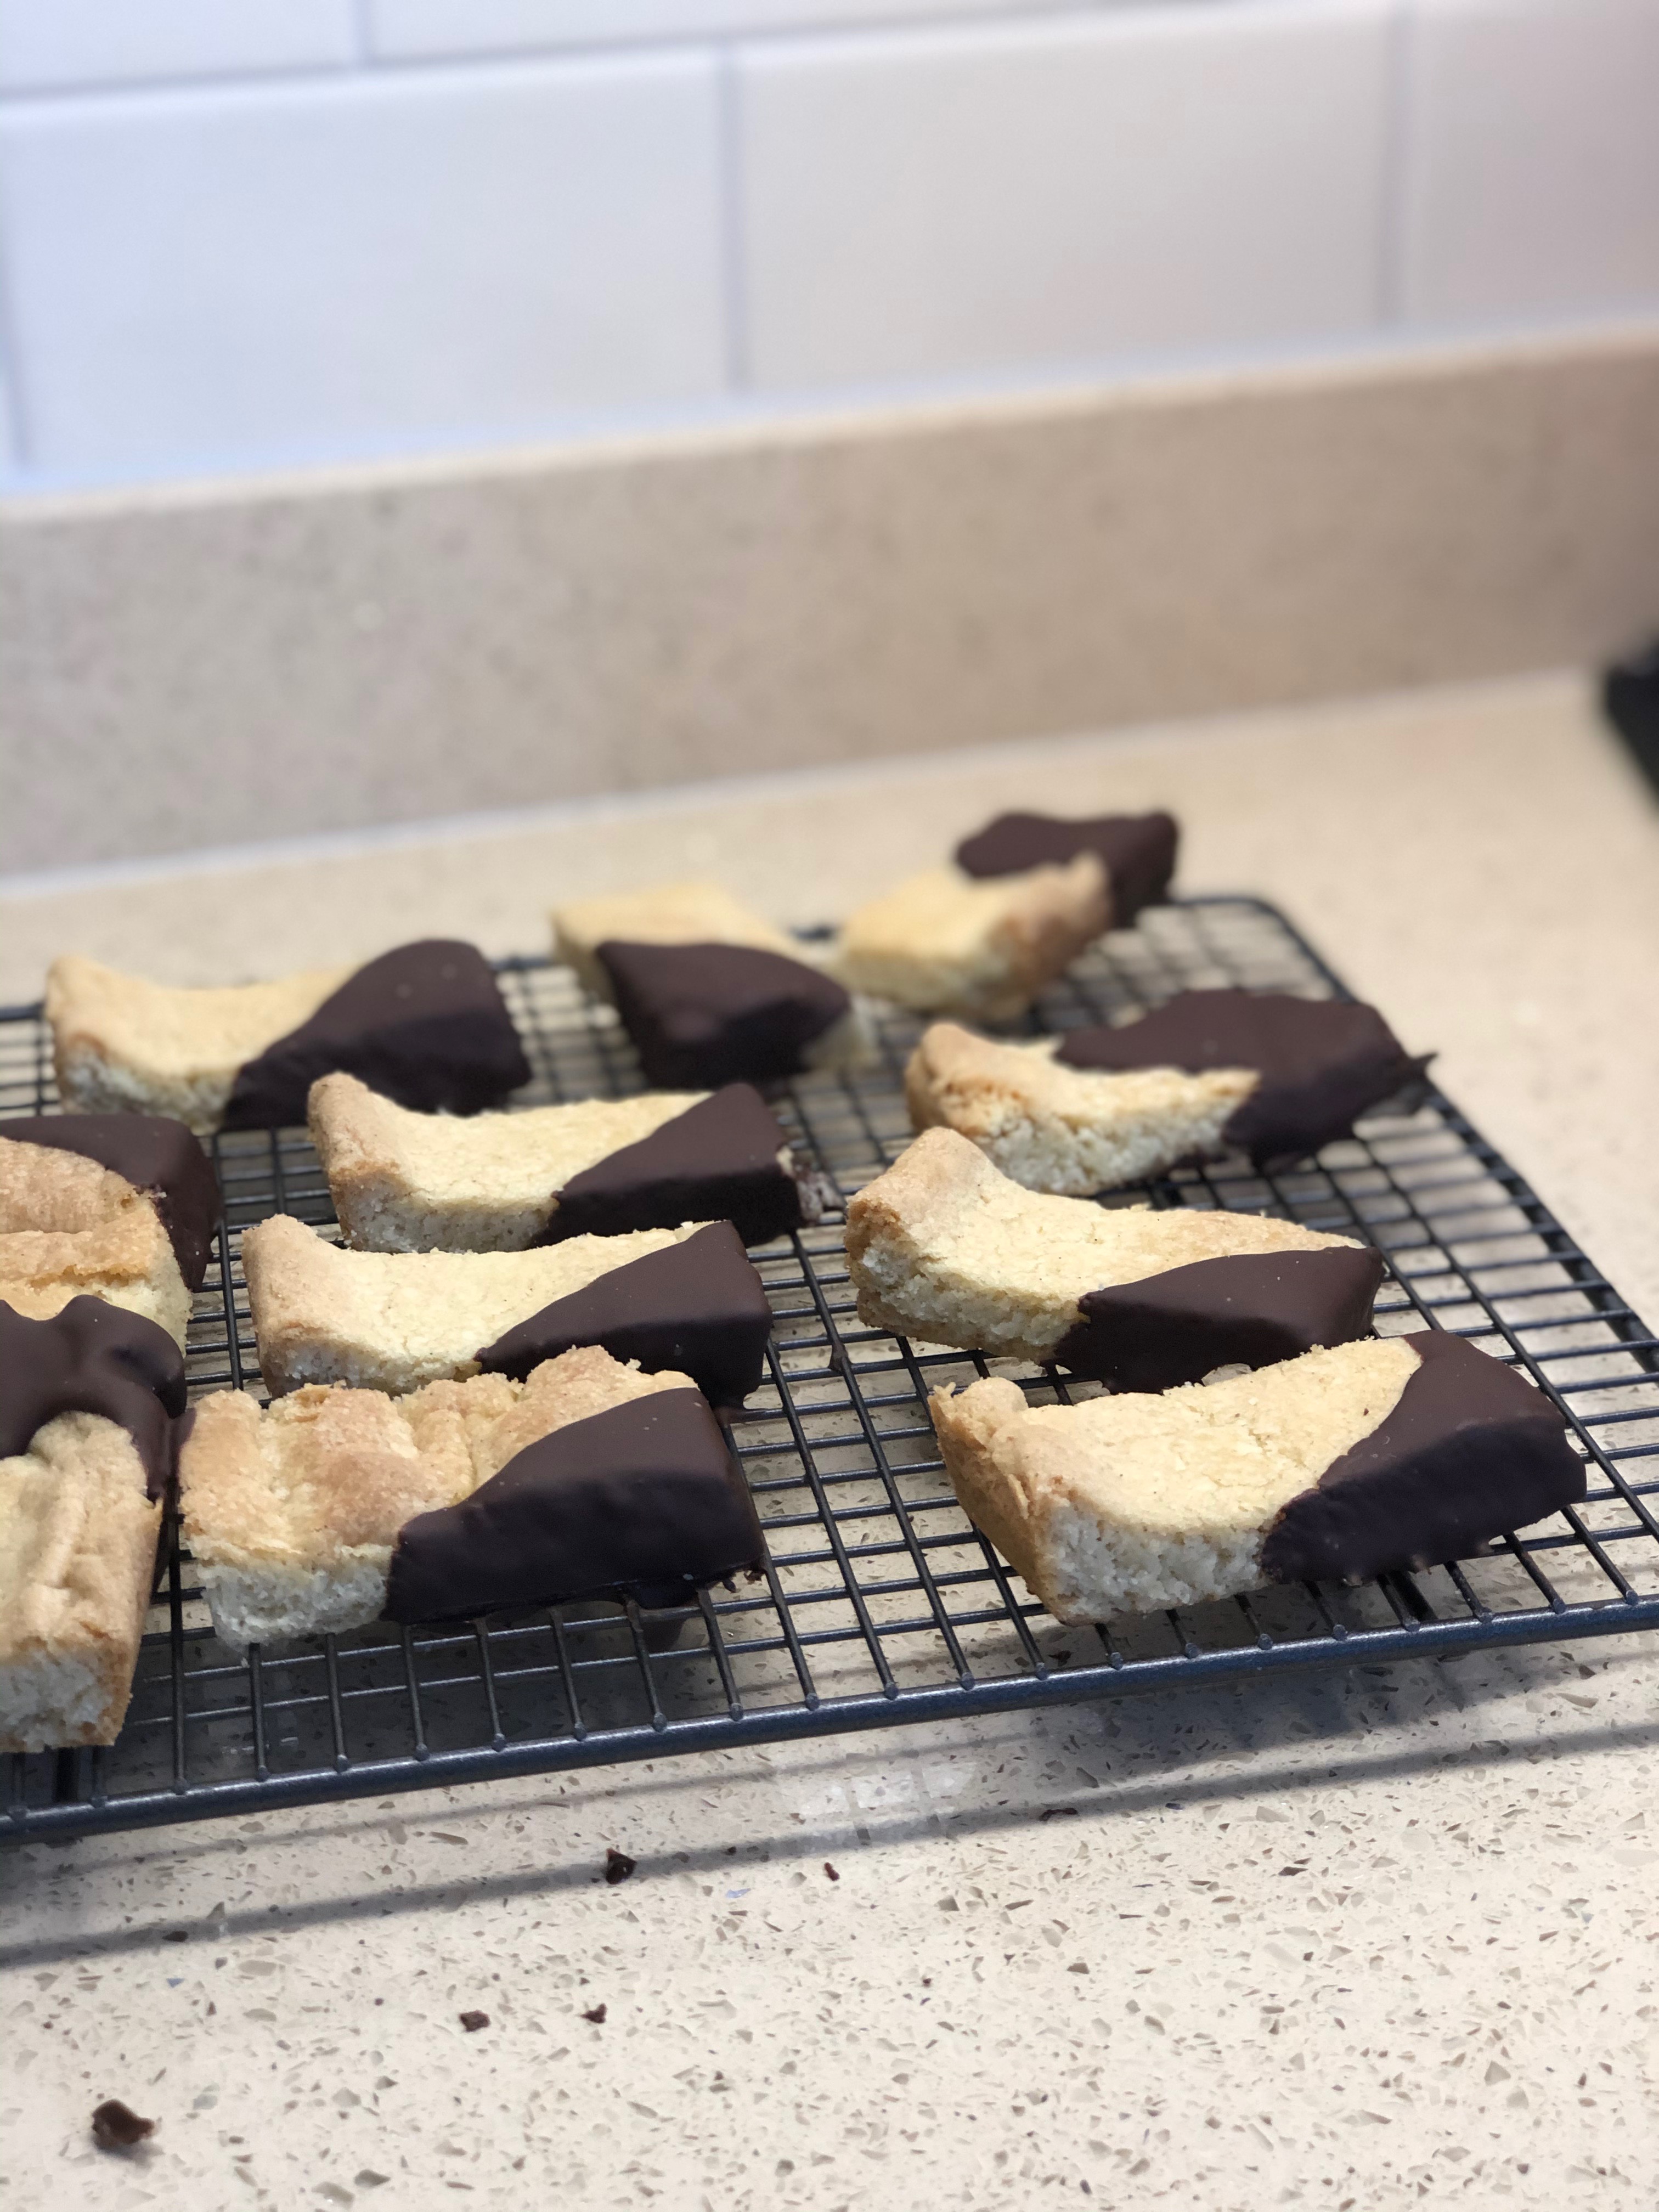
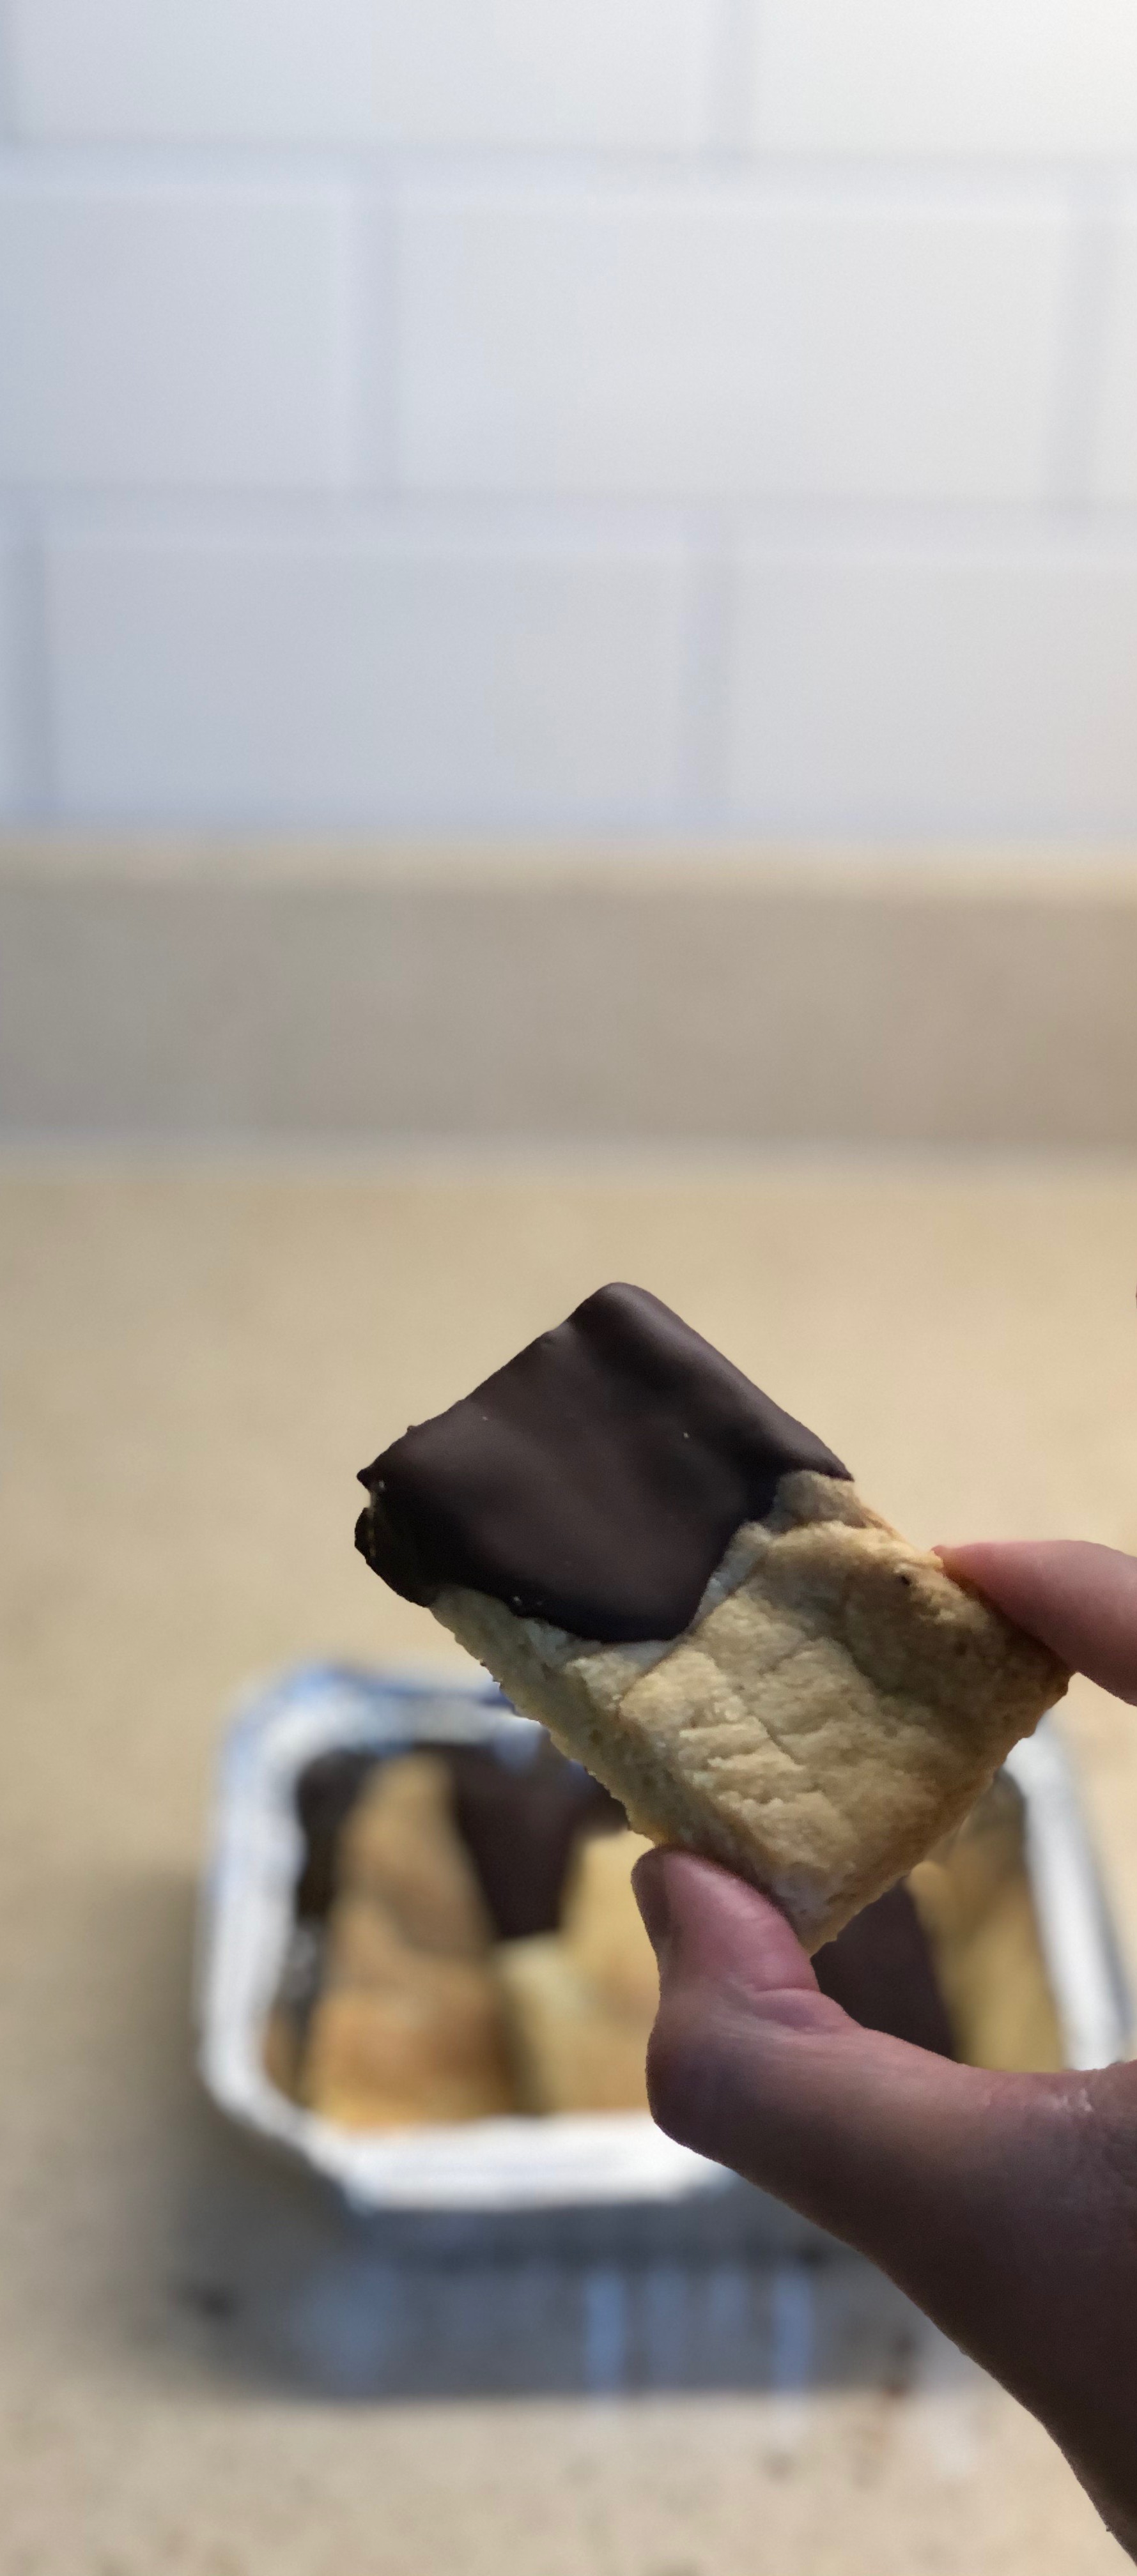
Once completely melted, feel free to decant your melted chocolate into a deep, narrow vessel so it is easier to dip your cookies. I like to dip mine at an angle to give a nice pattern, then place onto the leftover baking parchment to set, or a wire rack to drain off the excess (though a thicker layer of chocolate is always better!). Leave to set, or if you're like me - eat right away!
STORAGE NOTES:
Keep in an airtight container for up to 3 days.


TIP #1
You could wrap this dough in clingfilm and place in the fridge for an hour or so, then roll out and use cookie cutters to cut these into desired shapes! They will likely cook in half the specified time (depending on size).

